Winter Preparedness
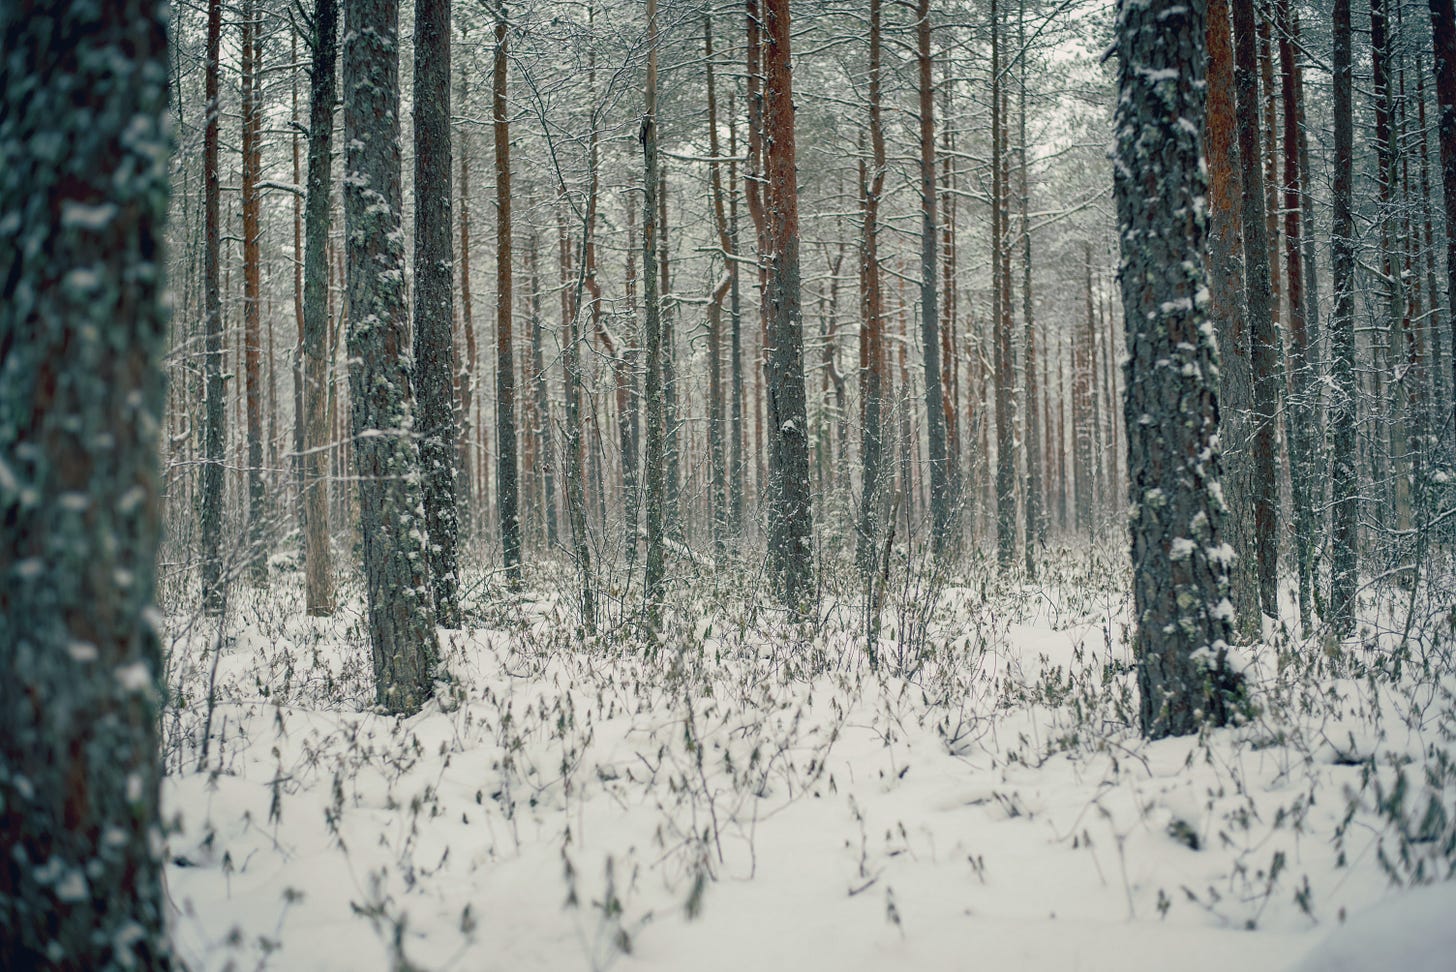
Photo by Aleksander Pedosk on Unsplash
I mentioned a couple weeks ago that a prepper who's on top of their gear will be sure to swap out seasonal equipment when they run their kit. With the cold upon us in the northern hemisphere, it's a fine time to cover some of that work in greater detail, and to highlight the threats that can occur in winter.
Winter Emergencies
With few exceptions, living in the U.S. means that the winter months bring precipitation and cold weather. Whether that means flash floods in California, blizzards in the Midwest, or the polar vortex draping across most of the country, the basic issues remain the same: the ability to access goods and services (or to be accessed); and the potential for a life-threatening drop in temperature. These issues aren't going away with climate change—in fact, while worldwide temperatures will trend upward, specific weather patterns will become more severe. The polar vortex, a mass of cold air over the Arctic, can break apart and slip through a weak jetstream toward the U.S., which is quite possibly the result of climate change.
We can mitigate these dangers wherever we are principally by anticipating them. A full pantry means you needn't worry about food if cut off by a blizzard. A stock of water and water filters means you won't go thirsty if a flood contaminates the municipal water supply, or a cold snap freezes your pipes.
But, for preparedness’ sake, compound these disasters. An ice storm prevents you from getting more food or medicine, the power is out because lines are down, and the cold freezes your pipes. A hell of a way to end 2020, right? How should we prepare for this?
Winterproofing Preps for Home
As always, your first step is to have on hand the medical supplies, food, and water for survival. A typical winter emergency that keeps you in your home will likely be alleviated in part or completely within a matter of weeks—and if you follow the bare minimum of this newsletter you've got two weeks of food and water saved up already. Make sure your prescriptions are topped off for the season, and, in the future, schedule any medical procedures that might put you at risk for warmer months.
To keep safe at home, you need:
- Medical supplies for two weeks minimum.
- Food and water for same. Be careful that your water doesn't freeze, too.
- Candles. Tea candles, Yankee Candles, emergency candles that burn for days. They'll keep your home lit and provide a pinch of warmth, depending upon the size of the room you're in. Be careful about them, though, as burning your house down in the middle of such an emergency won’t be terribly helpful—you’ll only be warm for a minute.
- Blankets. Obviously.
A tent. Which brings me to a sub-point:
- You want to minimize the space you're in so that your body heat and whatever heating source you have available can keep the ambient temperature comfortable. Either bring the family in to one small room, or pitch a tent in your living room. This creates a micro-climate that is easier to heat. (Alternatively: some of you never had to huddle in your bedroom with your parents while it snowed in through the eaves and it shows.)
- Sterno, or some other alternative method of fuel for cooking. Not a high priority but it will improve morale.
Your job after you have everything lined up is simply to stay warm. Avoid going out, avoid opening your fridge even if it's only 45° inside. Wait for the ice to melt. Read a book.
A good investment if you’re somewhere with the space is a generator. I’ll confess to knowing very little about them firsthand—they’re a prepper staple, my dad swears by his, and they can range from keeping your fridge running to your whole house. Something to tuck away for later.
Bugging Out
Should you be forced to make a run for it (whether it be Nazi Yetis or because you lit too many candles), your need for caution is considerably higher. You're entering immediately hostile territory, and cold will kill you quicker than anything else on the hierarchy of needs.
To bug out in cold weather:
- Know where you're going, and how to get there. You are seeking permanent shelter from life-threatening weather, not camping. Inclement weather can frequently disorient, so bring a compass and map.
- Layer up.
- Don't overexert yourself. Sweat will sap the heat from you.
- Keep your food and water close to your body so it doesn't freeze. Same for liquid fuel. If you run out of water, melt snow in your water bottle or canteen—don’t eat it straight from the ground.
- Pack a change of winter clothes.
- Pack, at minimum, a bivvy-type tarp and cordage for shelter, or pack a tent. Make sure you have an emergency blanket for each member of your party. Surplus blankets can be used to bolster tarp shelters. If you are in an urban environment, a tent may not be worth the weight--but a tarp and cordage are not so heavy.
- Bring redundant forms of firestarters. Lighters, matches, a ferro rod. You can stop here if you're good at starting a fire. If you're terrible at it, like me, include something like a fat rope stick, petroleum jelly-dipped cotton balls, or copious amounts of dryer lint (seriously) for kindling.
- This time of year, light is hard to come by. Bring a small camp lantern (LED, or something like it) so you can work at making/improving a shelter in the dark.
- A hatchet or hand-ax may be worth packing for splitting wood and making your shelter.
- Masks. If you're going to a community shelter, you'll definitely want the protection.
Do not struggle through the night toward your destination. You're liable to injure yourself, and an injury in cold like this scenario can spell doom. When you're cutting it close on time, set up a shelter, make a fire if you're able, and rest. To see how much daylight you have left, fully extend your arm and position your hand so your pinky finger is flush and parallel with the horizon. Each hand, until you reach the sun, is an hour of daylight. Each finger is 15 minutes. Stop with at least one hour left, or you may get caught building your shelter in the dark.
Building a Debris Shelter
Let's assume you are trekking across a sizable distance, and traversing that distance you realize you're not going to make it before dark. Whether you're in the city or not, you're going to need more than the clothes on your back to make it through the night comfortably, if at all. With an improvised shelter, simple is best. There are many simple configurations for a tarp, but the layout described below will work in most situations.

Create a small half-pyramid (think of it as an angular sleeping bag) out of either tree branches and/or your tarp and cordage. Do that by finding a branch about the width of your wrist with a decent fork at one end, and either brace the fork with another branch you spear into the ground, or a small tree that you can squeeze by. Don't prop it up too high--this side is your door. Secure this connection with cordage. Then, gather smaller branches of descending length and lean them against your forked branch to form your half-pyramid. If you have a tarp, cover the shelter as best you can with it, and weigh it down with stones, more branches, or stake it. Cover the tarp with leaves, snow, any insulating material you can find. Further insulate the inside of the shelter with leaves if dry. If not, it may be best to skip this step. Finally, create a door using more leaves or whatever windbreak you have at hand, and your bugout bag. This shelter should only be able to fit you, or at max, a partner. If you have more people traveling with you, you will need multiple shelters or to reconsider packing a tent.
With tarp and cordage, sub the forked branch for a secure, angled length of rope staked from tree to tree (or one anchor point to another in the city), and then drape and secure your tarp over the rope. Proceed as above for insulation. Remember that more is better—the more material between you and the open air and the ground, the warmer you will be. Either wear your spare clothes (if roomy enough) or use them as bedding: with the wind successfully blocked, your main heat sink will be the ground.
The reality for most of us is that even in a bad winter storm we could thaw our cars and drive to a friend's place where there's power. But the possibility for worse exists, and it shouldn't be discounted. The idea behind preparedness is not to feel foolish when the worst doesn't happen, but to be glad it didn't, and ready when it does. The dangers are higher in the cold, so the need for preparedness is, too.